
Steps to Achieve a Perfect Roof Repair
- Dec 8, 2025
- 3 min read
Maintaining a sturdy and reliable roof is crucial for protecting your home from the elements. When damage occurs, knowing the right steps to repair your roof can save you time, money, and stress. This guide will walk you through the essential roof repair steps to ensure your roof is restored effectively and lasts for years to come.
Understanding the Roof Repair Steps
Before diving into the repair process, it’s important to understand the key steps involved. Proper preparation and execution can make all the difference in the quality and durability of your repair.
Inspection and Assessment
Begin by thoroughly inspecting your roof to identify the extent of the damage. Look for missing shingles, cracks, leaks, or any signs of wear and tear. Use binoculars for a safe, distant view or climb a ladder carefully for a closer look. Document the damage with photos to help plan the repair.
Gathering Materials and Tools
Once you know what needs fixing, gather all necessary materials such as shingles, roofing nails, roofing cement, sealant, and replacement flashing. Essential tools include a hammer, pry bar, utility knife, ladder, and safety gear like gloves and goggles.
Safety First
Always prioritize safety. Use a sturdy ladder, wear non-slip shoes, and consider a harness if working on a steep roof. Avoid working in wet or windy conditions to prevent accidents.
Removing Damaged Sections
Carefully remove damaged shingles or roofing materials using a pry bar. Be gentle to avoid damaging surrounding areas. Dispose of old materials properly.
Repairing or Replacing Underlayment
Check the underlayment beneath the shingles. If it’s torn or water-damaged, replace it to ensure a waterproof barrier.
Installing New Shingles or Roofing Material
Align new shingles properly, starting from the bottom edge of the roof and working upward. Nail them securely, following manufacturer guidelines. Apply roofing cement to seal edges and prevent leaks.
Sealing and Finishing Touches
Apply sealant around vents, chimneys, and flashing to prevent water intrusion. Inspect your work to ensure all areas are covered and secure.
Clean Up and Final Inspection
Remove all debris from the roof and surrounding area. Conduct a final inspection to confirm the repair is complete and effective.
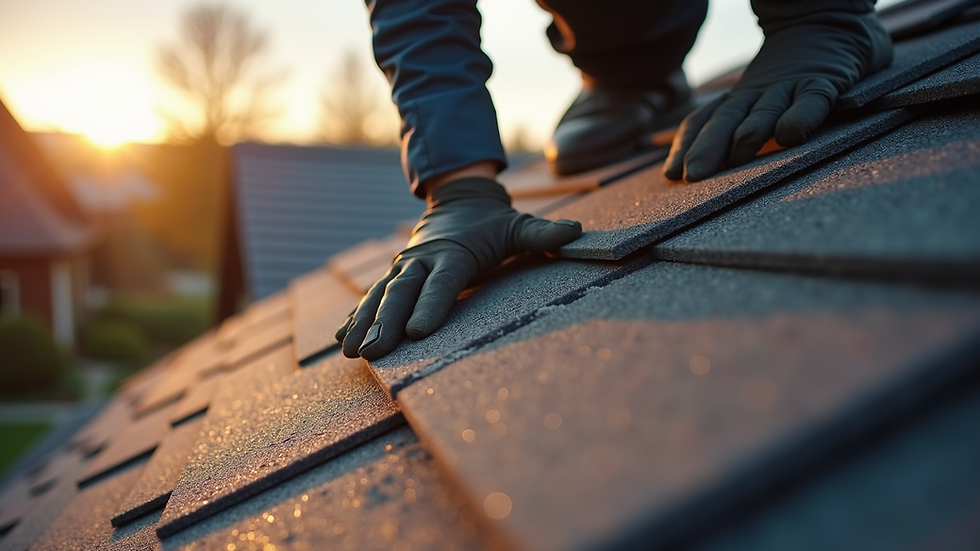
Replacing damaged roof shingles carefully
What is the Most Common Roof Repair?
One of the most frequent repairs homeowners face involves fixing or replacing damaged shingles. Shingles can crack, curl, or fall off due to weather exposure, age, or poor installation. This damage can lead to leaks and further deterioration if not addressed promptly.
Another common issue is flashing repair. Flashing is the metal material around chimneys, vents, and skylights that prevents water from seeping into the roof structure. Over time, flashing can rust, crack, or become loose, causing leaks.
Patching small leaks is also a typical repair. These leaks often occur around roof penetrations or where shingles overlap. Identifying and sealing these leaks early can prevent costly water damage inside the home.
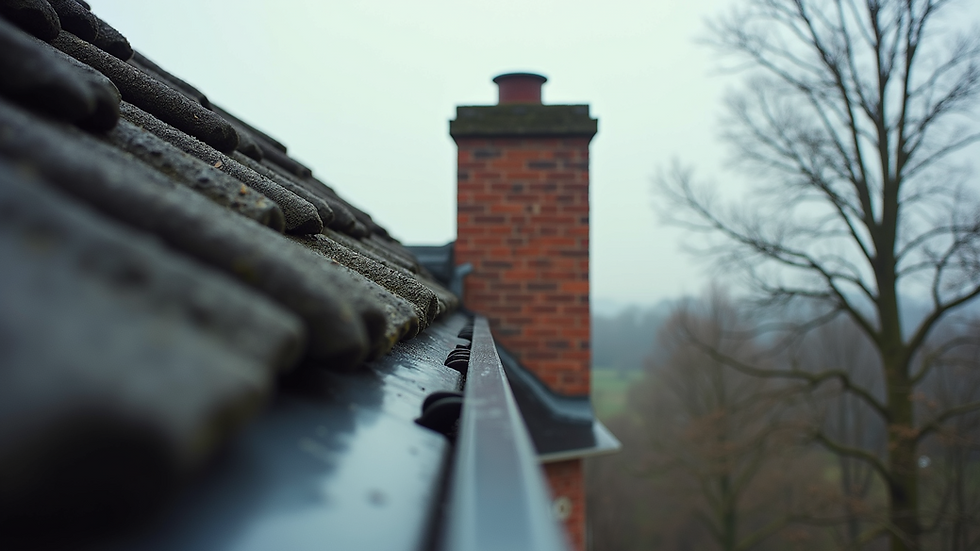
Roof flashing around chimney requiring repair
Tips for Effective Roof Repair
To ensure your roof repair is successful, consider these practical tips:
Act Quickly: Address damage as soon as you notice it to prevent worsening conditions.
Use Quality Materials: Invest in durable shingles and sealants that match your existing roof.
Follow Manufacturer Instructions: Proper installation is key to longevity.
Check Weather Forecast: Plan repairs on dry, calm days.
Hire Professionals When Needed: For extensive damage or steep roofs, professional help ensures safety and quality.
When to Call a Professional
While many minor repairs can be handled by homeowners, some situations require expert intervention:
Extensive damage covering large roof areas
Structural issues or sagging roof sections
Complex repairs involving flashing or ventilation systems
Roofs with steep pitches or difficult access
Persistent leaks despite DIY repairs
Professional roofers have the experience, tools, and safety equipment to handle these challenges efficiently.
Maintaining Your Roof After Repair
After completing the repair, regular maintenance will extend your roof’s lifespan:
Inspect your roof twice a year and after major storms
Clean gutters and downspouts to prevent water backup
Trim overhanging tree branches to avoid damage
Remove debris like leaves and moss buildup
Schedule professional inspections every few years
By staying proactive, you can catch potential problems early and keep your roof in top condition.
Final Thoughts on Roof Repair Steps
Following the right roof repair steps ensures your home stays protected and your investment lasts. Whether you’re fixing a few shingles or addressing flashing issues, careful attention to detail and safety will lead to a successful outcome. For those seeking expert assistance, trusted roofing services like roof repair can provide reliable solutions tailored to your needs.
Taking the time to understand and execute these steps will give you peace of mind and a roof that stands strong through all seasons.


Comments